Auspex Radiant SmartClips
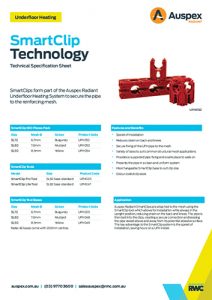
The key advantage to Auspex Radiant’s SmartClip system is its speed – laying the pipe with SmartClips saves hours on an installation.
Installation Instructions
The SmartClips form part of the Auspex Radiant system to secure the pipe to the reinforcing mesh. The clips are attached to the mesh using the SmartClip tool which allows for installation in the upright position, reducing strain on the back. The pipe is then laid into the clips, creating a secure connection to the mesh while keeping the pipe raised above and away from its potentially abrasive surface.
Step 1
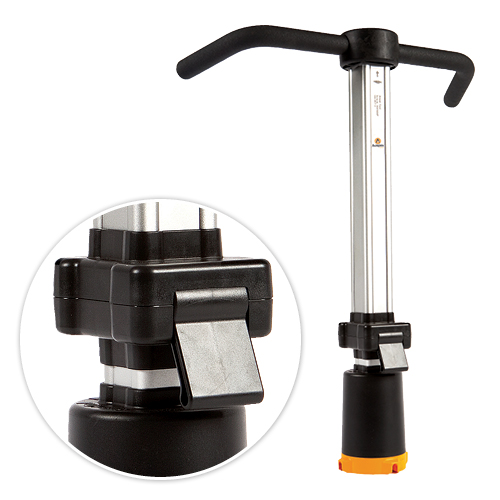
Adjust the height of the tool to allow its use in the upright position, by lifting up the adjustment clip to allow the tool to raise or lower as needed. When the desired height is set, push the adjustment clip back down to lock in place.
Step 2
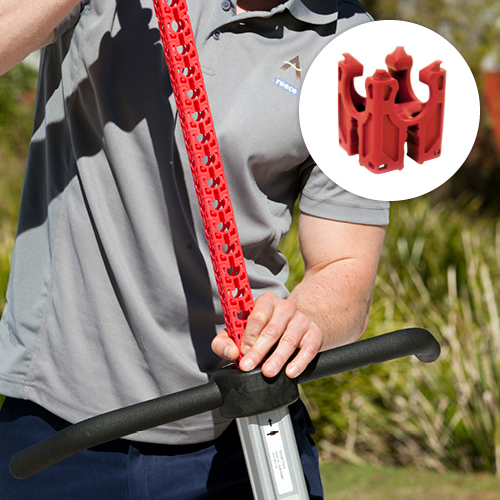
Load the clips into the tool, with the smaller diameter profile pointing downwards.
Step 3
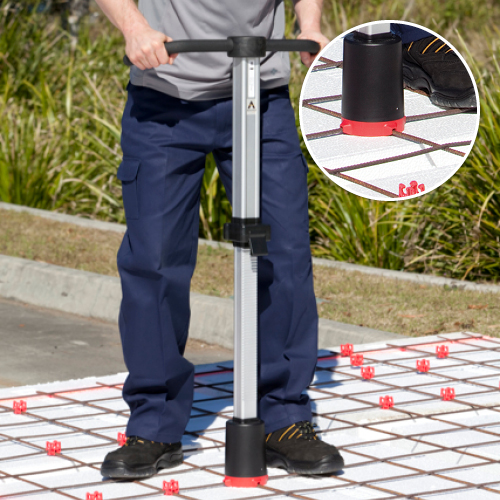
Locate the grooves in the base of the tool on the intersection of the reinforcing mesh. Push downwards on the tool handle to attach the clip to the mesh.
Step 4
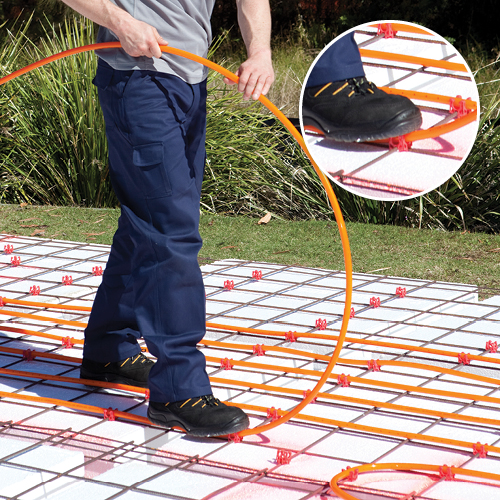
Insert the pipe into the clips, with the pipe feeding from behind, and step the pipe into the clips to attach.
Step 5
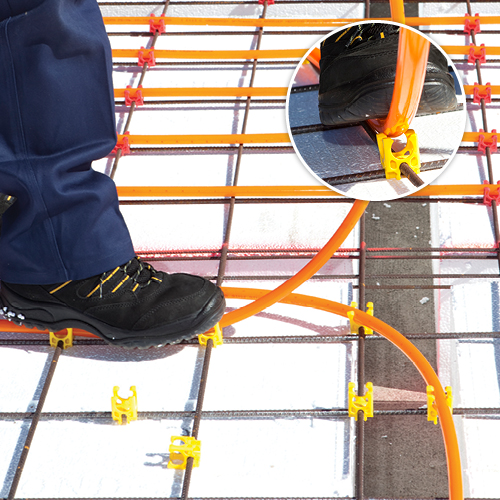
When using the serpentine method, use feet to form bends before stepping into end clip.
Step 6
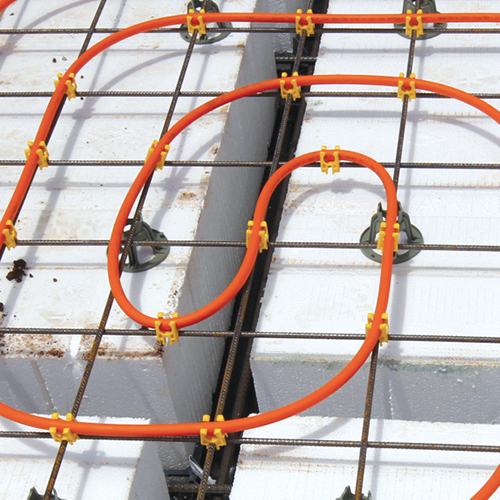
Space clips 600 mm (3 mesh squares) apart along the pipe runs, or more often where more support is needed e.g. along walls, long pipe runs, and around bends.
Clip Selection
SL72
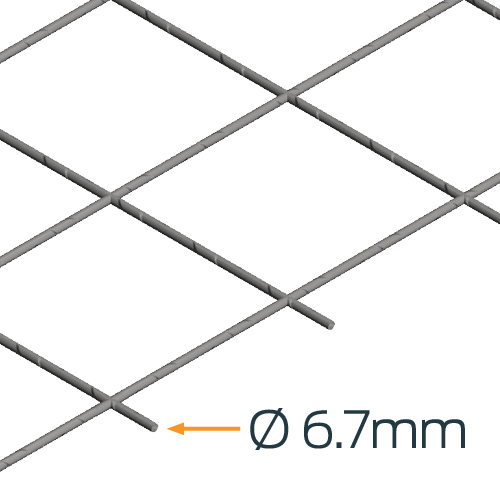
Mesh Size: ø 6.7mm
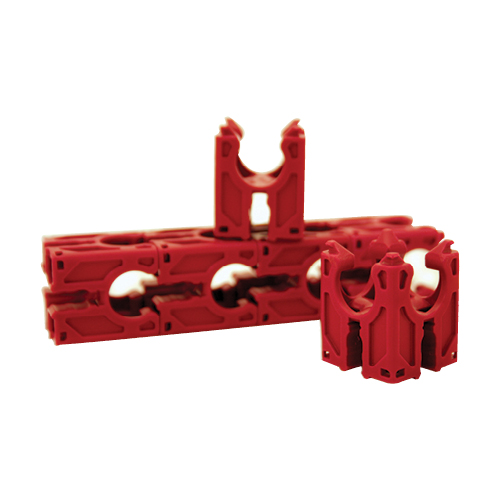
Clip Colour: Burgundy
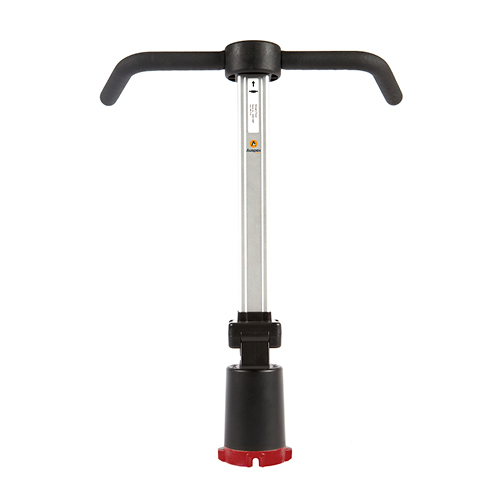
Clip Tool: Standard tool fitted with SL72 base
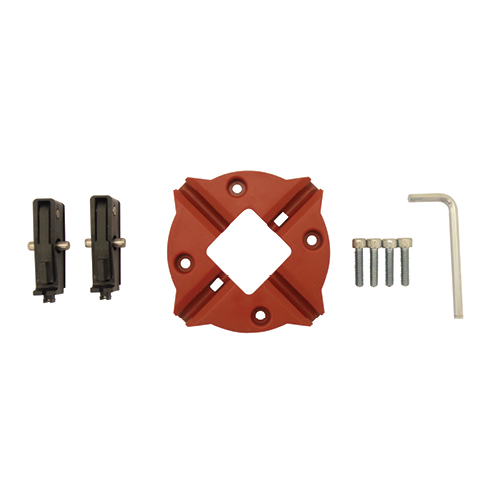
(purchased separately)
SL82
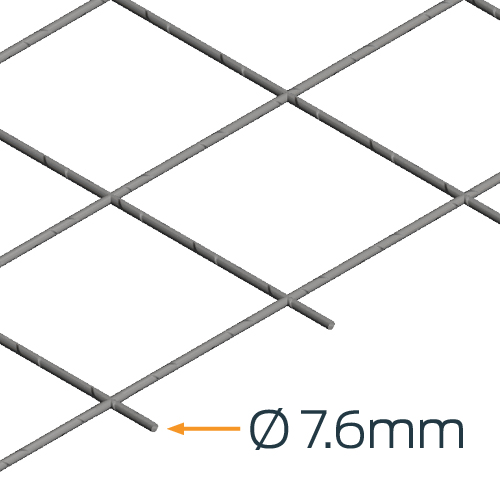
Mesh Size: ø 7.6mm
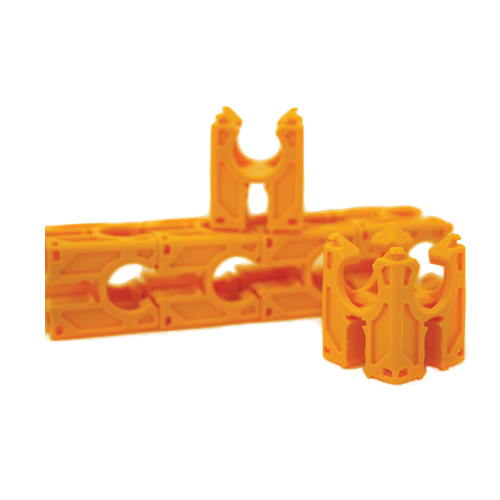
Clip Colour: Mustard
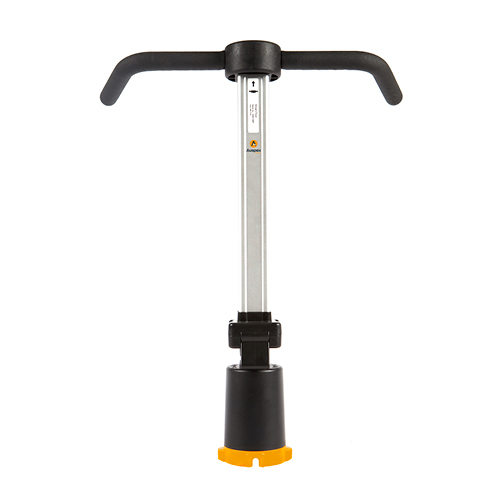
Clip Tool: Standard tool fitted with SL82 base
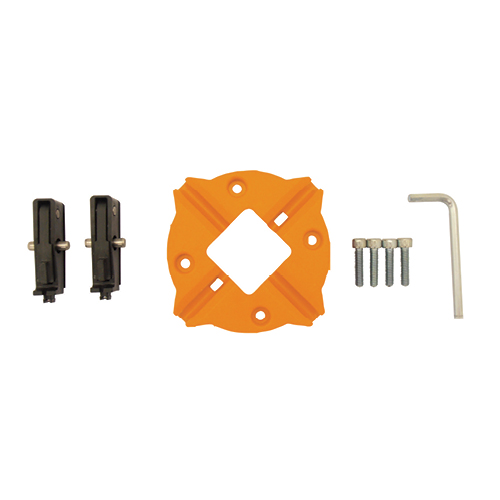
(mustard base supplied with every tool sold)
SL92
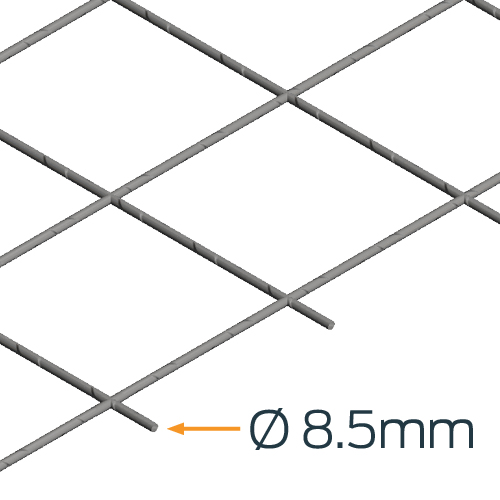
Mesh Size: ø 8.5mm
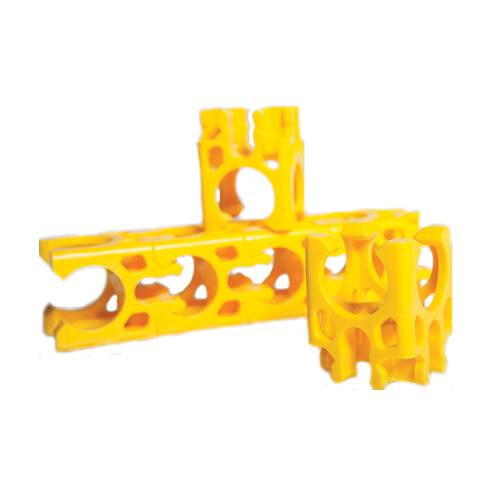
Clip Colour: Yellow
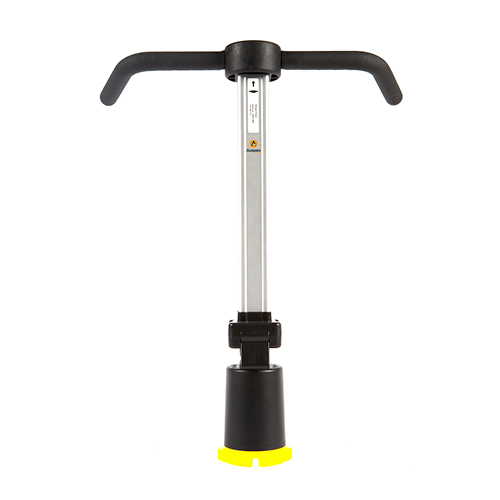
Clip Tool: Standard tool fitted with SL92 base
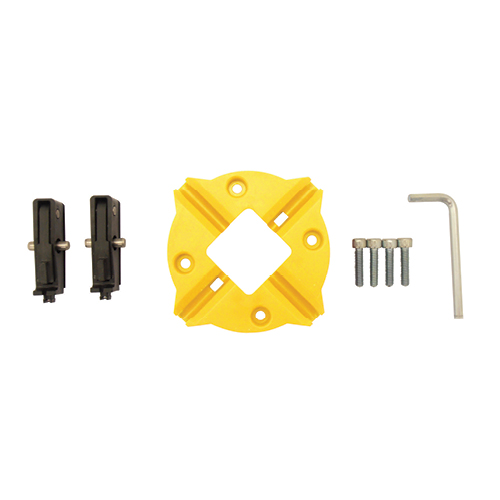
(purchased separately)
